
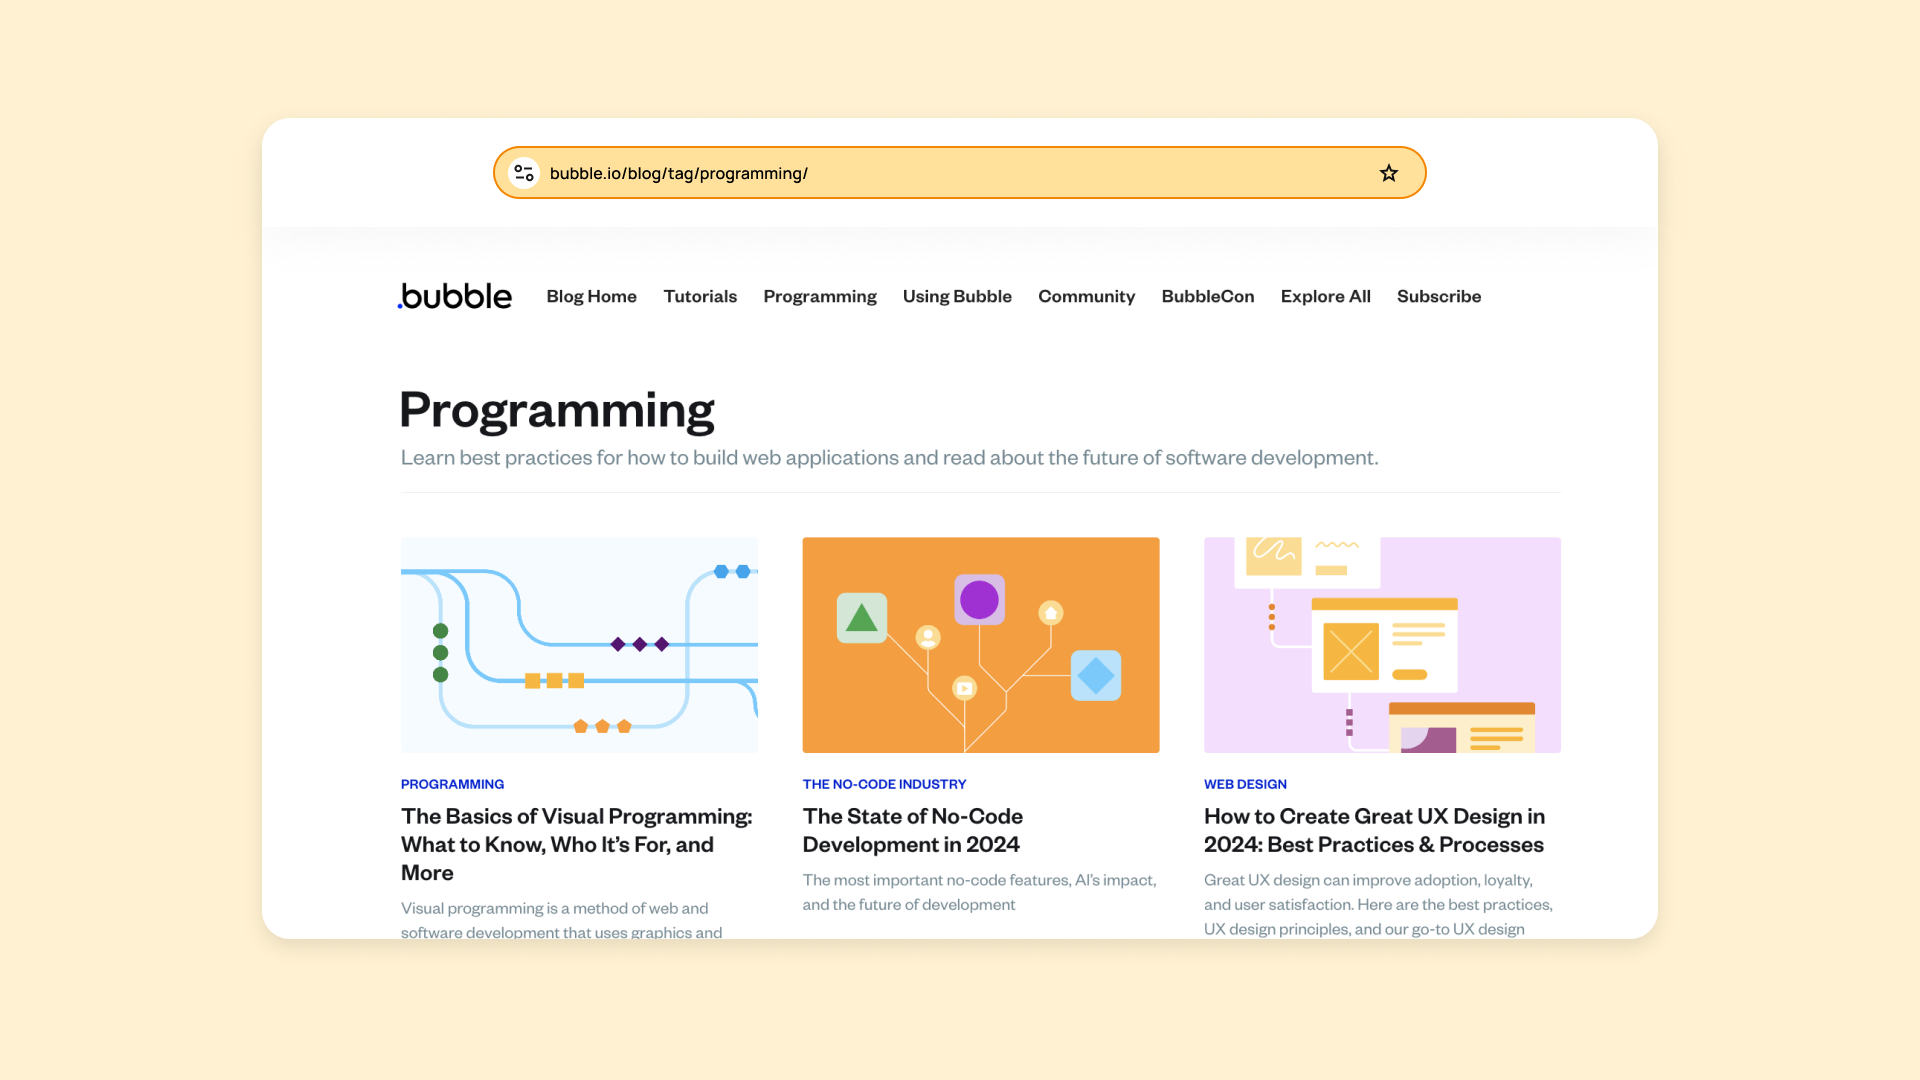
If you’re building an application with Bubble and want your blog to appear at yourdomain.com/blog, this guide will walk you through the process.
Many tutorials jump directly into technical code examples. Unfortunately, that’s often where teams run into problems. Routing logic is only one piece of the puzzle. Factors like DNS configuration, domain structure, caching layers, and search engine indexing are just as important.
In this guide, we’ll cover the entire process step-by-step:
-
Why businesses prefer blogs in subdirectories
-
The routing challenges Bubble teams often face
-
A reliable architecture that works in production
-
Implementation options using Cloudflare Workers, Nginx, or Caddy
-
SEO and operational safeguards to keep everything running smoothly
Why Many Bubble Teams Want a /blog Structure
Publishing a blog on a subdomain (like blog.yourdomain.com) is easy and quick to set up. However, many companies still prefer hosting their blog in a subdirectory like yourdomain.com/blog.
The main reason is SEO and growth performance.
A subdirectory setup often works better for B2B marketing strategies because:
-
Link authority stays on the main domain, strengthening overall SEO
-
Internal linking becomes more effective, helping blog content boost product pages
-
Analytics and attribution are simpler since everything lives on one domain
-
User experience remains consistent, guiding visitors smoothly from content to product pages
If your blog is meant to drive customer acquisition rather than just publish articles, implementing a proper subdirectory structure is usually worth the extra effort.
Why This Can Be Challenging on Bubble
The difficulty doesn’t usually come from the blog platform itself. Whether you use Ghost, WordPress, Superblog, or another CMS, the issue often arises at the network and routing layer.
Here’s why.
Bubble custom domains already operate through Bubble-managed edge infrastructure. When teams try to add additional proxy routing or custom edge logic on the same root domain, conflicts can occur.
Common problems include:
-
DNS configuration conflicts
-
Proxy loops or edge routing clashes
-
Issues caused by cross-account Cloudflare setups
This explains why some teams report that their routing experiments initially worked but later became unstable after DNS changes or platform updates.
A Reliable Architecture for Subdirectory Blogs
The most stable approach is to use a dedicated intermediary host and route traffic from a single public domain.
Recommended Setup
Public domain:
yourdomain.com
Bubble app origin:
bubble.yourdomain.com
Blog origin:
blog.yourdomain.com
Routing logic
-
Requests to /blog/ → routed to the blog origin
-
All other requests → routed to the Bubble application
This model works well because each service has a clear responsibility, and the public domain acts as a single routing point.
Step 0: Choose Your Strategy Before Editing DNS
Before touching your DNS settings, decide which architecture you want to use.
Path A: Fastest and Simplest
-
Keep your Bubble app on the root domain
-
Host the blog at blog.yourdomain.com
This approach sacrifices some SEO benefits but is quick and easy for early-stage startups.
Path B: Subdirectory With Reliable Routing
-
Move your Bubble app to proxy.yourdomain.com
-
Control routing from yourdomain.com
-
Send /blog/ traffic to the blog server
This method provides the strongest long-term setup and is the approach described in this guide.
Path C: Enterprise-Level Networking
-
Keep Bubble on the root domain
-
Implement complex cross-account edge routing
While possible, this approach often introduces unnecessary complexity and higher infrastructure costs for most teams.
Step 1: Move the Bubble App to an Intermediary Host
If your Bubble app currently runs on yourdomain.com, you’ll first need to migrate it.
Steps:
-
Open Settings → Domain/Email inside Bubble
-
Add the domain proxy.yourdomain.com
-
Complete the domain verification process
-
Confirm your app works properly at https://proxy.yourdomain.com
Important:
Keep your existing root domain configuration active until the final switch.
Before moving forward, test key features such as:
-
Login authentication
-
Cookie handling
-
Webhooks
-
OAuth or external callbacks
Rushing this stage can lead to broken integrations.
Step 2: Prepare Your Blog Origin
Your blog platform should already be live before routing traffic through a subdirectory.
Common examples include:
-
Ghost hosted at blog.yourdomain.com
-
WordPress hosted at blog.yourdomain.com
-
Superblog connected to a blog-specific host
Before continuing, verify the following:
-
The homepage loads correctly
-
Individual blog posts open without errors
-
All assets (CSS, images, JavaScript) load properly
-
A sitemap is available
-
Canonical URLs point to the blog host
Later in the process, public-facing URLs will be rewritten so posts appear under /blog/.
Step 3: Select Your Routing Layer
At this stage, you need to choose a routing system. Only use one router in production.
Your main options include:
Cloudflare Workers
A serverless solution that requires no server management and is ideal for teams wanting a simple edge-based setup.
Nginx
Provides maximum control over routing behavior but requires managing your own server.
Caddy
A modern web server with clean configuration and built-in automatic TLS support.
Example: Cloudflare Workers Setup
For most teams, Cloudflare Workers offer the simplest and most reliable option.
DNS Configuration
Your DNS records should follow this structure:
| Type | Name | Target | Proxy |
|---|---|---|---|
| CNAME | app | yourapp.bubbleapps.io | DNS only |
| CNAME | blog | your blog origin | Proxied |
| A or CNAME | @ | public edge host | Proxied |
Important note:
Keep proxy.yourdomain.com set to DNS-only to prevent double-proxy conflicts.
Worker Routing Rule
Attach a Worker script to:
The Worker will:
-
Send /blog and /blog/ traffic to the blog origin
-
Remove
/blogbefore forwarding requests upstream -
Send all other requests to the Bubble proxy host
-
Rewrite HTML links so blog navigation remains inside the
/blogpath
Final Thoughts
Running a blog on yourdomain.com/blog with a Bubble app requires more than simple routing rules. DNS configuration, proxy behavior, and SEO considerations all play important roles.
By separating origins and routing traffic through a single controlled edge layer, teams can build a reliable setup that supports both product functionality and content-driven growth.
When implemented correctly, this architecture gives you the best of both worlds: the flexibility of Bubble and the SEO advantages of a subdirectory blog.